澳门精准一码高手-免费完整资料
加入收藏
联系我们
首页
公司简介
服装出租
服装定制
常见问题
诚信档案
合唱老师
化妆造型
联系我们
最新动态
< - 北京演出服装工厂68154050对公团体定做68158020新款演出服装、舞蹈服装、民族服装特价优惠出租!< - 北京演出服装工厂68158020团体机关定做68154050大量新款演出服装,全部特价优惠!
对公有发票,收支票,公务卡
北京总部[五路居京鼎原207A]
总部:010-68154050
电话:010-68158020
手机:13910530706 微信
团体定做/合唱排练/化妆造型
天津小白楼[凯旋门大厦A19A]
电话:022-23150323
18641777186 微信
手机:15122508088 微信
辽宁大连港湾街[财富大厦A]
手机:15640943567
山东临沂洗砚池街办[雪莉制衣]
电话:0539-8236906
山东日照办:13256335818
山东济南办:15306415658
定做批发: 最好试穿看实物!
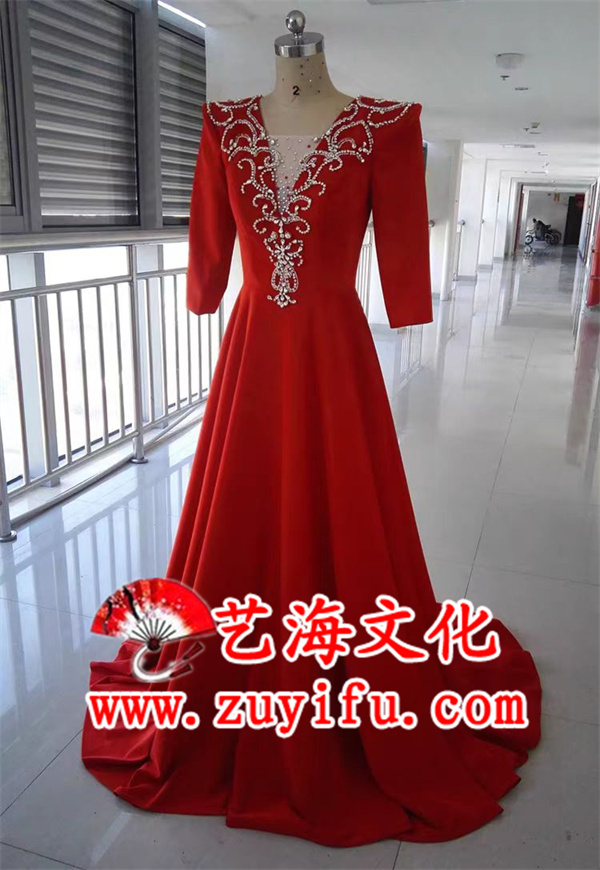
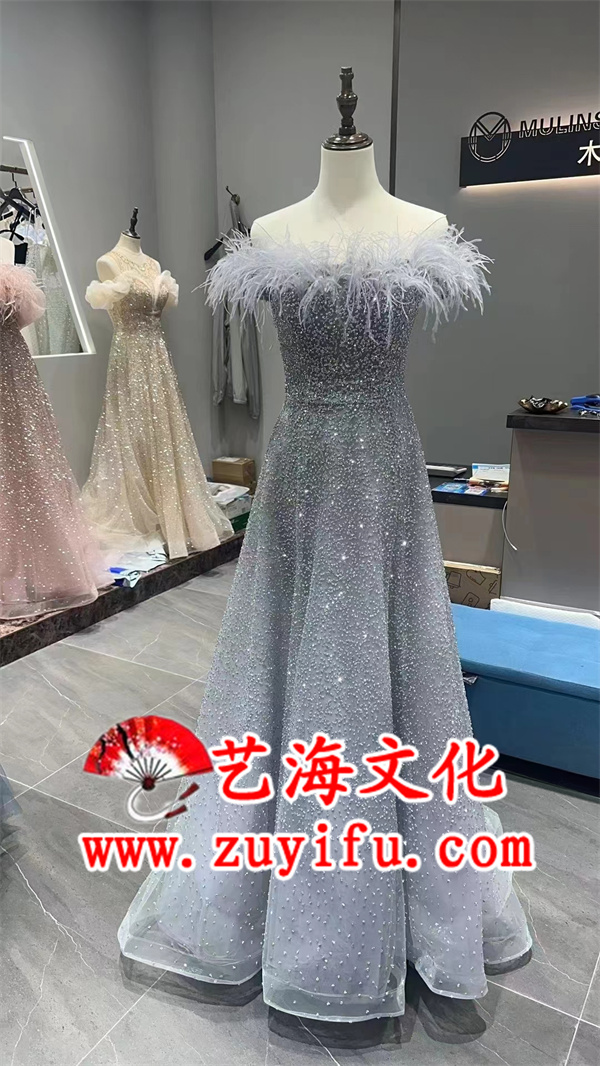
女士礼服
男士礼服
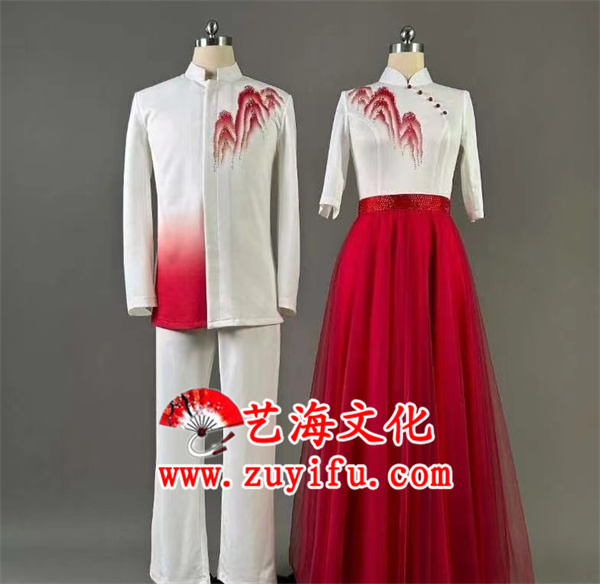
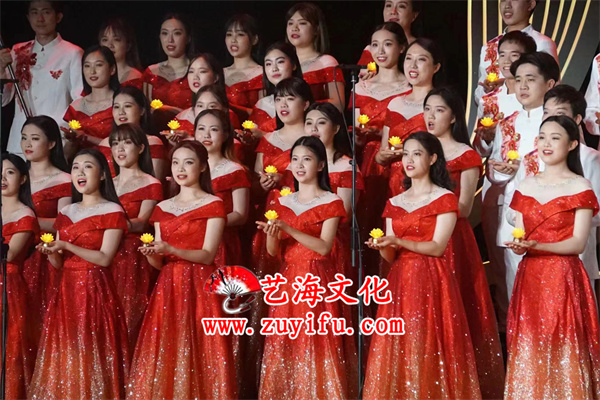
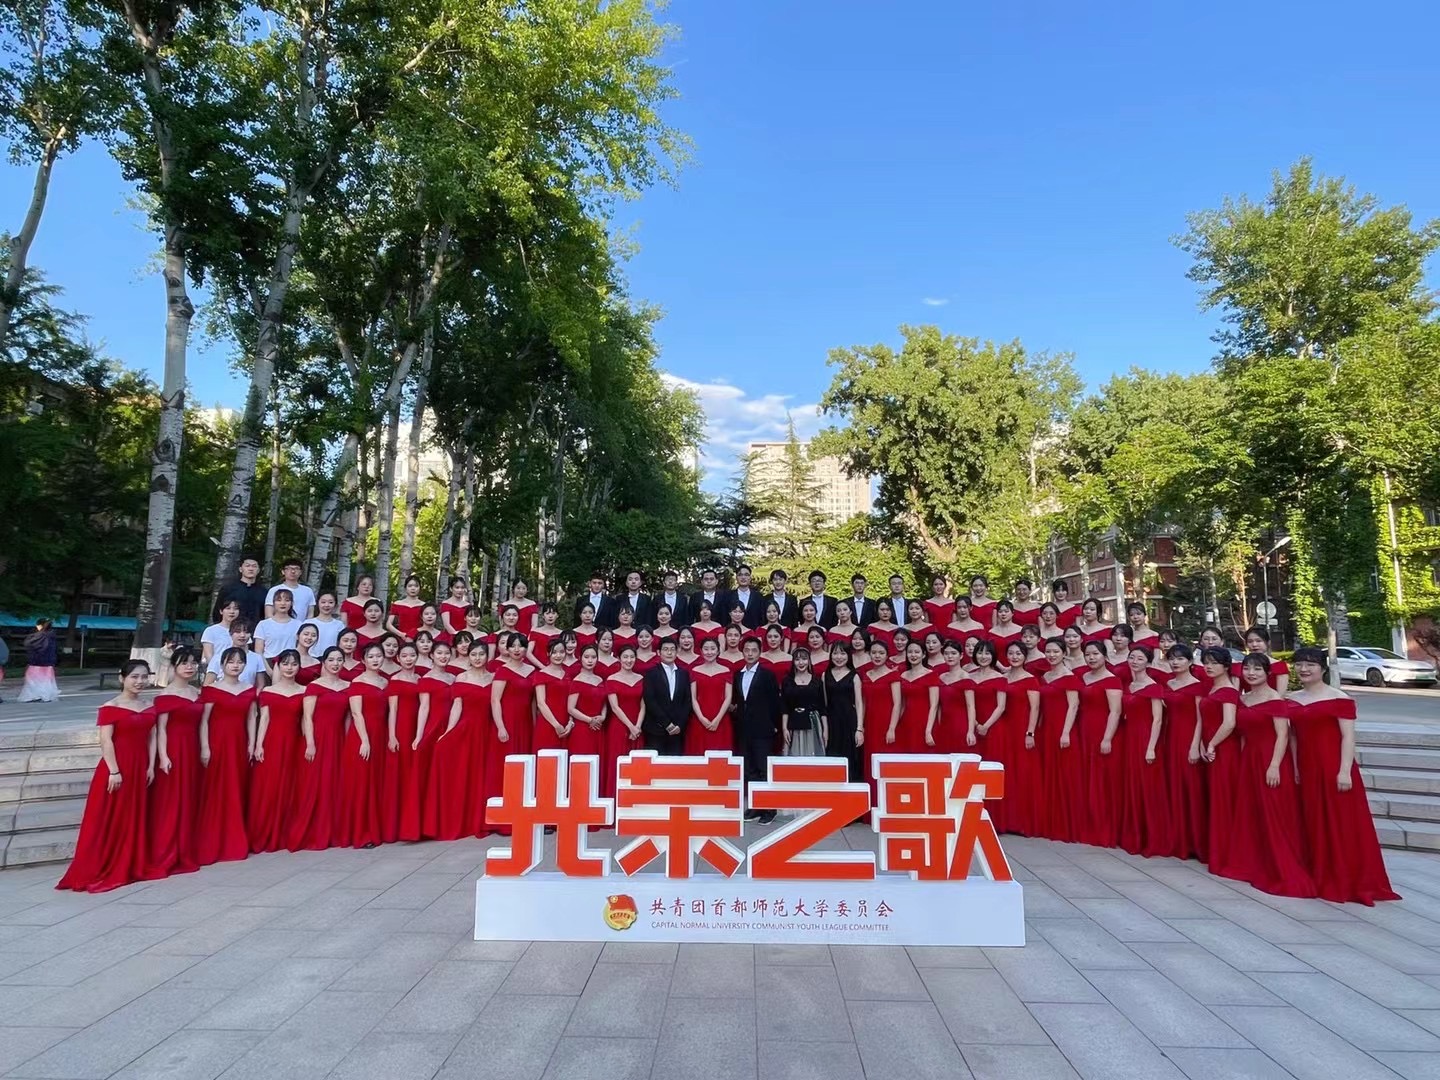
合唱服装
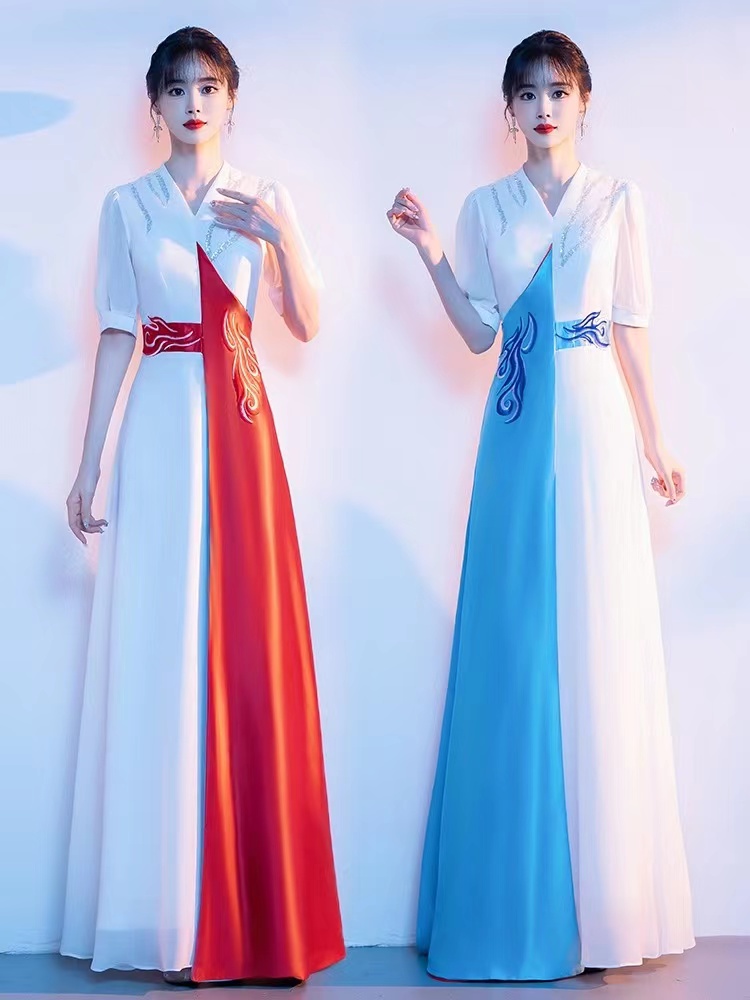
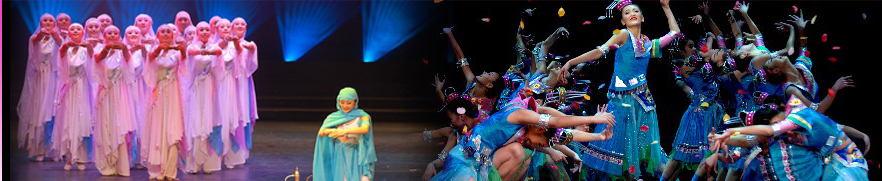
民族服装
舞蹈服装
校园儿童
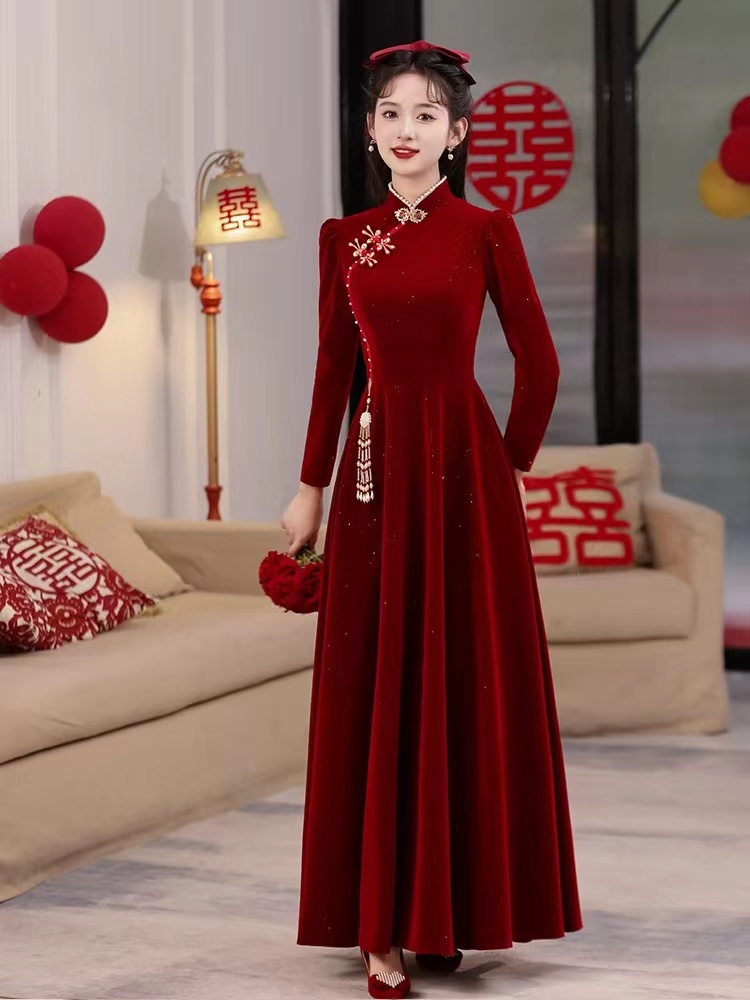
商务旗袍
男士古装
女士古装
话剧小品
卡通服装
异国风情
道具饰品
社区定做
艺考乐团
舞台设备1
周一至周六
上午9:00-下午5:30
其他时间预约
1
艺海可刷公务卡,收支票,有发票!
[2023-03-01]
2
艺海影视之家演出服装上新闻联播啦!
[2020-11-01]
3
建党百年庆典大合唱大量新款3000套
[2020-11-01]
4
超大停车场,导航【深发红木】西四环
[2019-06-06]
5
艺海文化为中央电视台提供演出服装,?.....
[2018-11-01]
6
大连演出服名仕财富大厦15640943567
[2017-12-04]
7
天津电视台一套采访艺海文化演出服装?.....
[2015-12-05]
站内搜索:
美声独唱艺考礼服
江山合唱朗诵
冬季礼仪旗袍
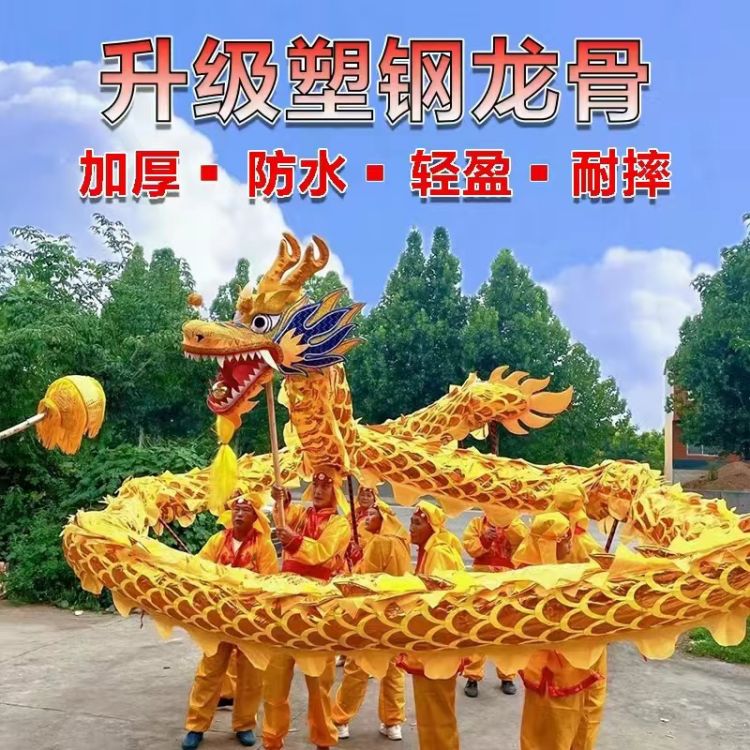
金龙舞龙道具8人
男士主持礼服多
新款到展厅看实物
高档女礼服
女士礼服
变色合唱新款
一字肩合唱
合唱服装
亮片现代舞
校园服装
高档男汉服藏青
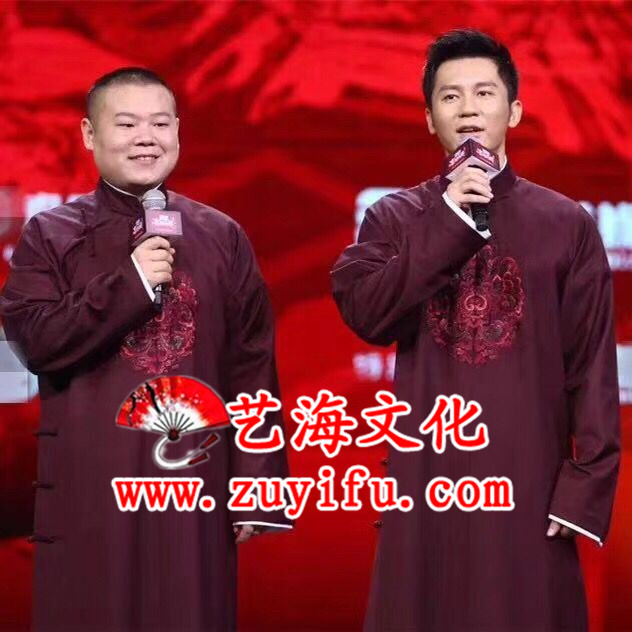
相声大褂服装租赁
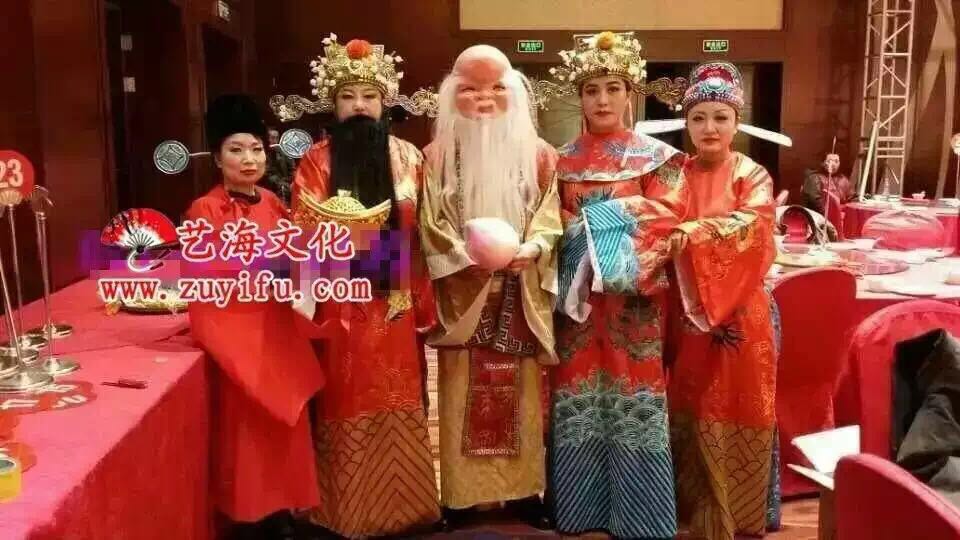
福禄寿喜财
版权所有:澳门精准一码高手
京ICP备11040106号-3
| 京公网安备110108400855
地址:
北京市海淀区西四环北路140号京鼎原商务楼207A(西四环五路居出口营慧寺公交站,深发红木楼上)
电话:010-68154050 手机:13910530706
本站关键词:
演出服装
演出服装出租
演出服装租赁
天津演出服装租赁|北京舞蹈服装租赁|海淀演出服租赁|塘沽演出服租赁|合唱服装定做|民族服装租赁|天津舞台服装租赁|古装租赁|丰台服装租赁|天津舞蹈服装租赁|北京演出服租赁|北京服装出租|天津服装租赁|北京海淀服装出租|主持人服装租赁|北京演出服装租赁|古代服装出租|大合唱服装租赁|舞台服装租赁|天津演出服装出租|北京丰台服装租赁
北京艺海文化演出服装租赁是北京、天津地区演出服装租赁最全最大的出租机构。为各大企事业单位提供
演出服装租赁
等
友情链接:
演出服装
合唱服装定做
青岛
北京
北京
话剧服装定做
北京
青岛
易海软件


 周一至周六
上午9:00-下午5:30
其他时间预约
周一至周六
上午9:00-下午5:30
其他时间预约